Righto... so we completed on the new place late November 2014, and over the past few weeks building work's have started to make it habitable for the ever growing Pidgeon flock (we 'ad anuvva baby doncha know..).
It's time frames like that that make me ever so pleased we rushed the completion date forward, and missed out on the (three grand) cheaper stamp duty by 10 days.
Oh wells...
However, it's given me plenty of time to play around with ideas in my head for the log burner install. I was toying with ideas and options, and wasn't completely set on which route to go down - the self install, or leaving it to a professional.
In my web travels I'd come across the stove fitters manual and spent many an hour sat on the sofa, 'running through in my head' the concepts and ideas needed to go down the self install route. I must give the majority of credit to Julian and his website, because it really is a comprehensive instructional write up of what's needed for each of the various stages of the log burner install. It also has plenty of links to the building regs (which are not only legal requirements, but safety points too). From here on it shall be referred to as 'The Bible o' Fire'
In contrast to this, THIS write up is simply a form of documentation of what I did, the laughs I had, and the hopes and dreams that were realised...by all means follow my lead, but don't take my advice as that of a professional!!
Why go down the self install route?? Well, it's a little bit to do with saving money - this route has saved me at least £700 - £1000, even getting BR to sign it off at the end. but it's mostly to do with learning new skills and using m'noggin. I really enjoy reading technical manuals and such, and learning and utilising new skills (even if I never use them again) is what makes me buzz!
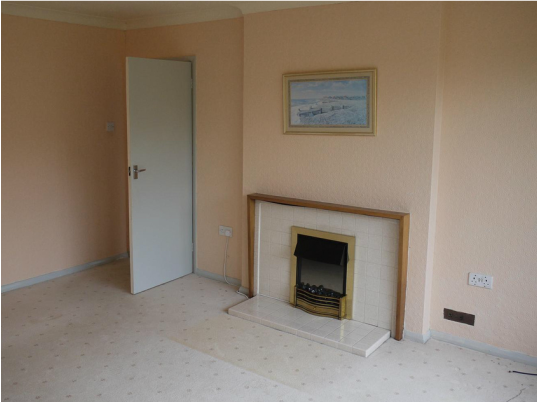
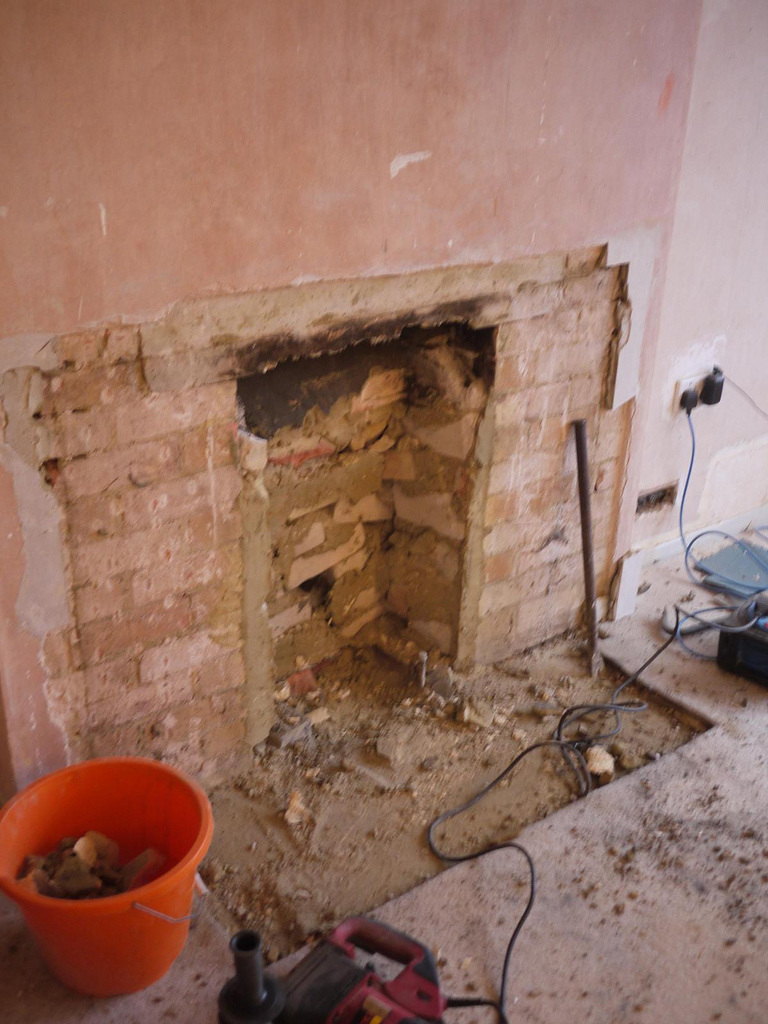
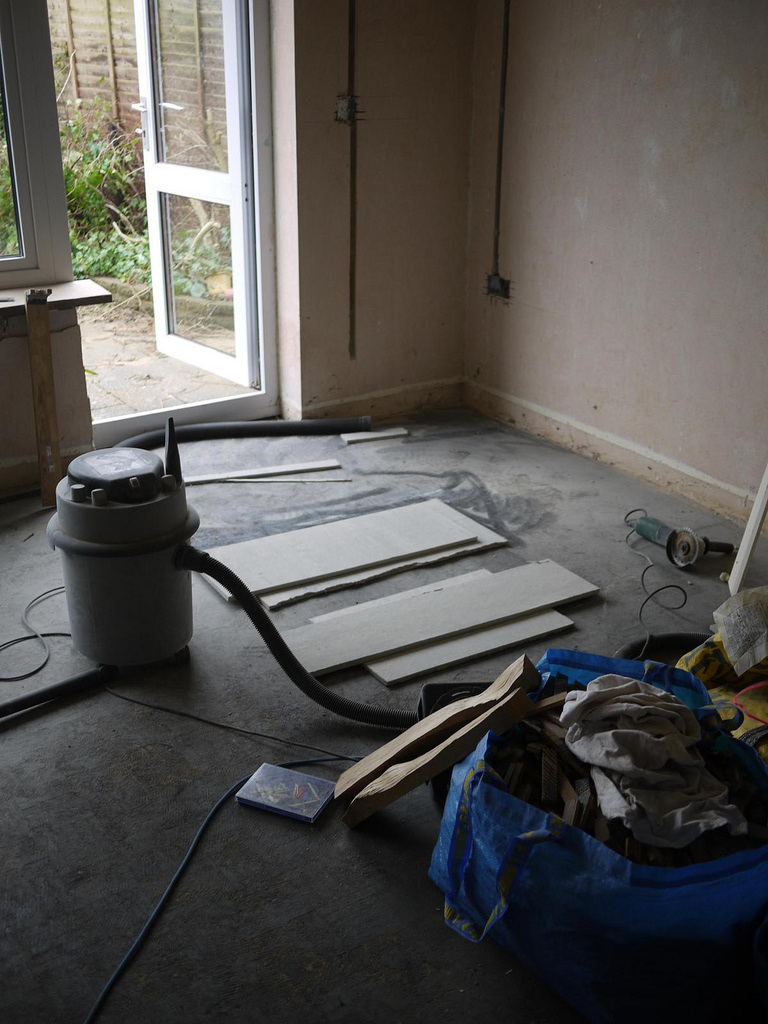
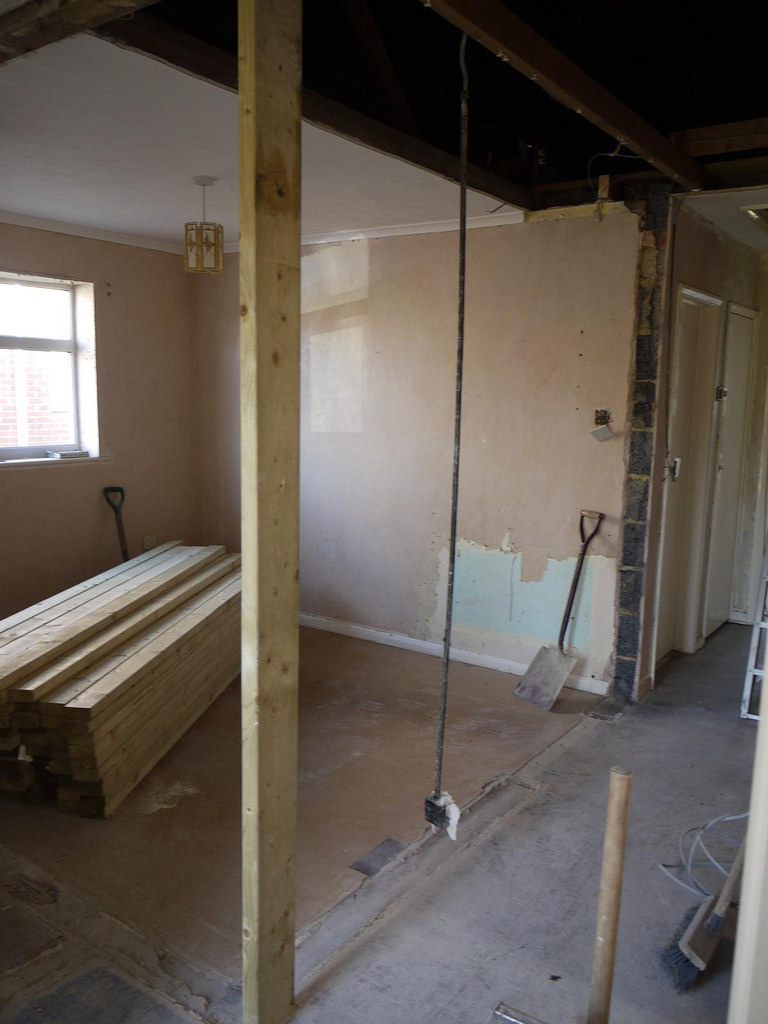
Smashing out the crappy old fireplace.
First you have to smash out your crappy old fireplace...
The Bible suggests that behind most 'aesthetic' fireplaces is a traditional 'builder's fireplace'. It's this larger fireplace you want to get back to.
Tools needed include:
The Bible suggests that behind most 'aesthetic' fireplaces is a traditional 'builder's fireplace'. It's this larger fireplace you want to get back to.
Tools needed include:
- Hammer(s)
- Cold chisels (luke warm will suffice)
- SDS drill
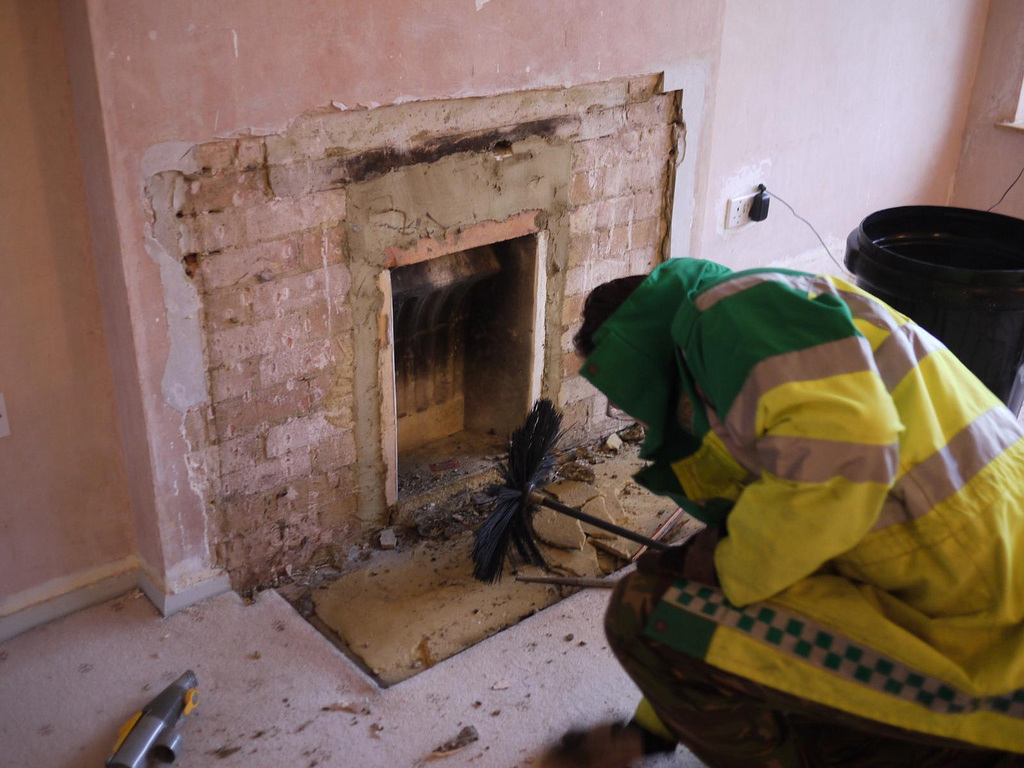
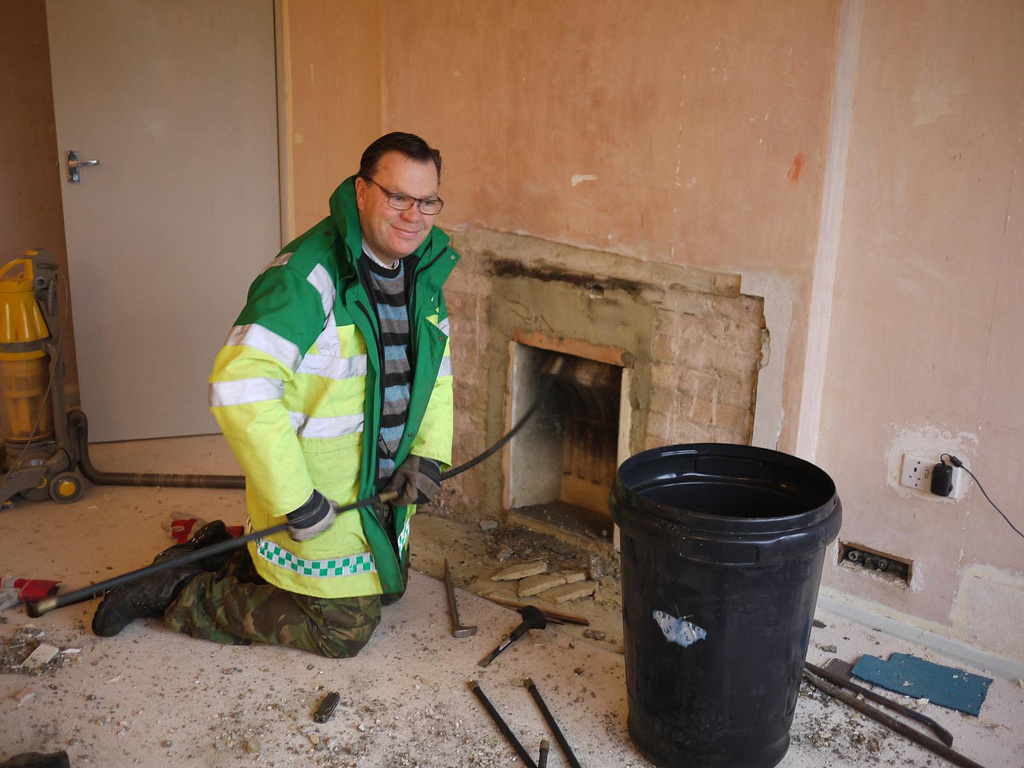
- Cheeky ambulance-man come chimney sweep
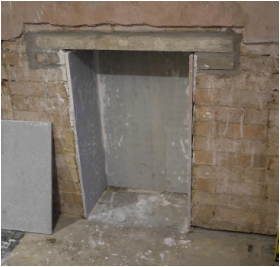
You're left with this sort of set up (we gave it a sweep BEFORE ripping the carpet up, so as to contain most of the soot!):
Then it was just a case of smashing out the remaining bricks that were packed into the 'builders fireplace':
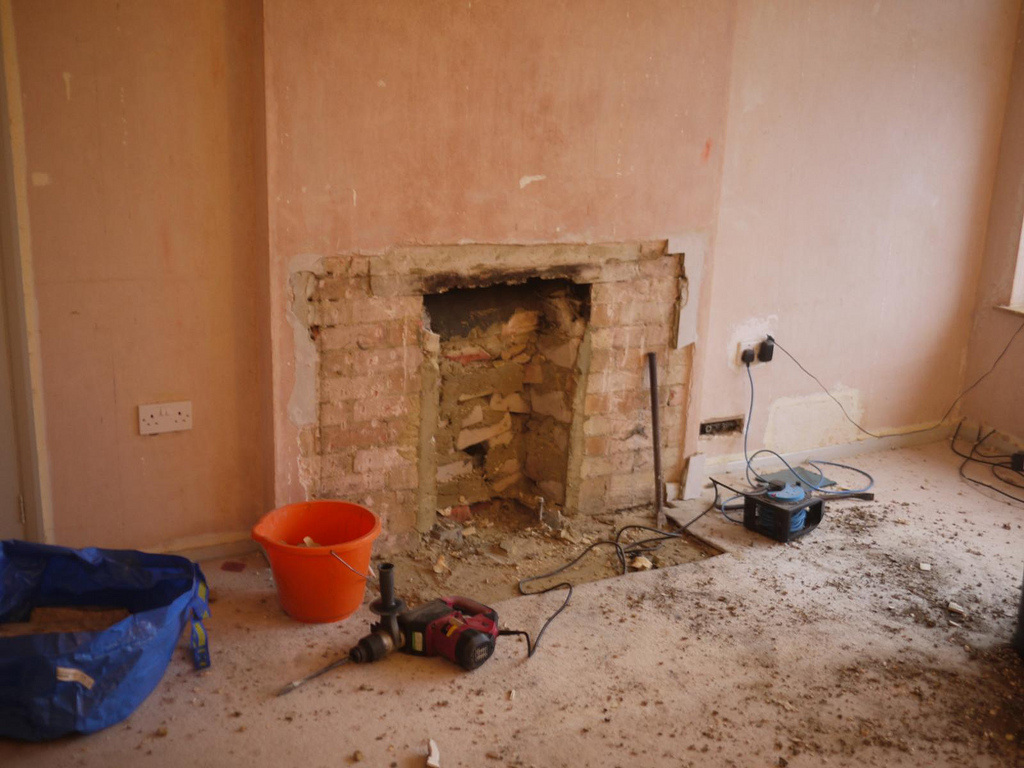
Once all the brickwork, cement, and mortar was out, we were left with the basic cavity to work with:
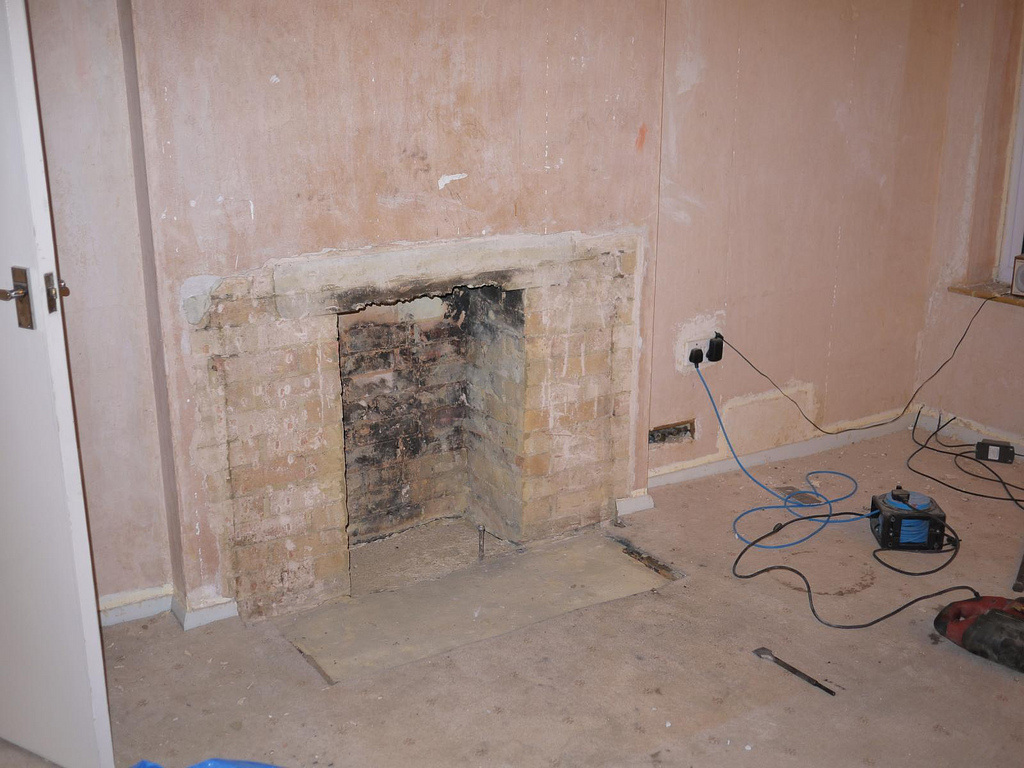
Over the years it was clear to see the fireplace had been used in various forms
Then I filled in the recess in the floor using cement mix, so as to level it all out.
Also, the lintel was looking terrible, so this was removed, and replaced with a standard 100x60 concrete lintel. Not only did this look neater, it gained a 'bricksworth' (official measure) of height:
- open fire, hence the charred and chipped lintel
- gas fire, hence the gas pipe
- more recently, an electric fire
Then I filled in the recess in the floor using cement mix, so as to level it all out.
Also, the lintel was looking terrible, so this was removed, and replaced with a standard 100x60 concrete lintel. Not only did this look neater, it gained a 'bricksworth' (official measure) of height:
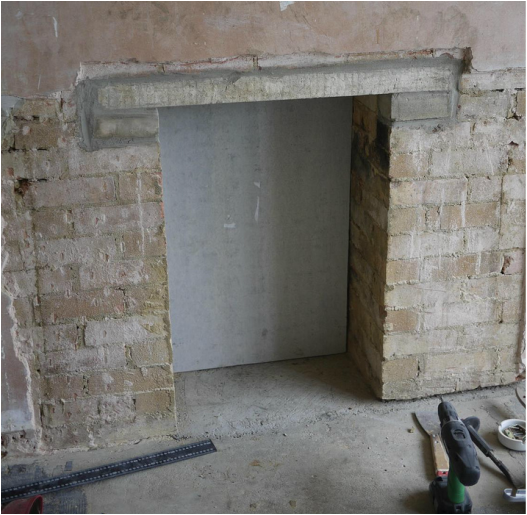
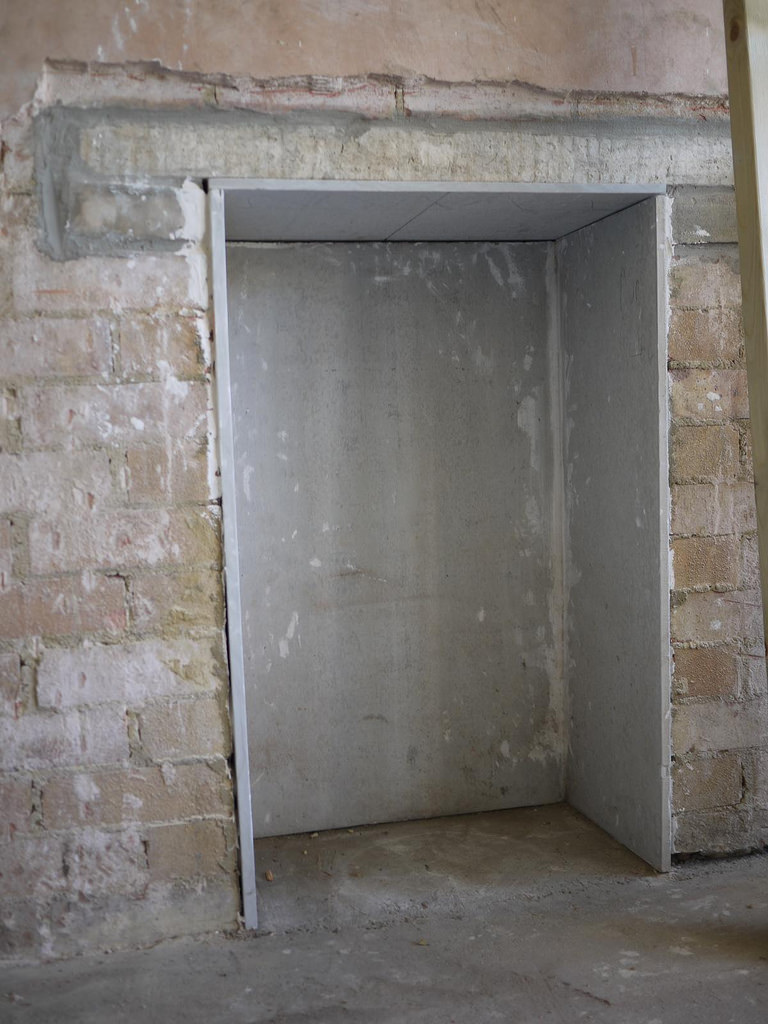
That's pretty much the 'creating the space' aspect. It's not the largest fireplace opening, but reasonable enough to fit in a neat 5kw stove. More on that later. But first..
Lining the fireplace
You'll see in the Bible there are various ways to line a fireplace opening. As I understand it, this can be to render over the brickwork, cement board the brickwork, or simply leave the bricks as they are. There are regulations about 'distance to combustibles' etc etc, so don't be daft and use meths soaked cotton wool to line your opening...
I really wanted a neat and tidy look to our opening, so opted to line it with Hardibacker 12mm cement board. Off the top of my head this was about 13 quid a sheet from Travis Perkins. Measure up, use maths, and work out how many boards you'll need.
The Hardie website suggests using a 'scoring tool' to cut the board. This was crap. I suggest using a 9" disc cutting tool. This was terrifying, but more effective.
Following the Bible's advice, I opted to line the rear first, then the 2 sides. I'll fix these in place using dry lining 'stuff', leaving a small gap at the top for another sheet of 12mm board to slide in to act as the closure plate - I'll then use a final stainless-steel plate to neaten up the closure plate..more on that later!
Our opening wasn't perfectly square - I wasn't that fussed and could try to straighten out the sides with differing thickness of the dry liner adhesive.
Our opening wasn't perfectly square - I wasn't that fussed and could try to straighten out the sides with differing thickness of the dry liner adhesive.
 |  |
The final part of the initial lining process was to cut the closure plate piece. This is eventually to be screwed in using thunderbolts, but for now it's just rested in place as it needs a hole cut in it, and a bit more jiggery-pokery to take place!
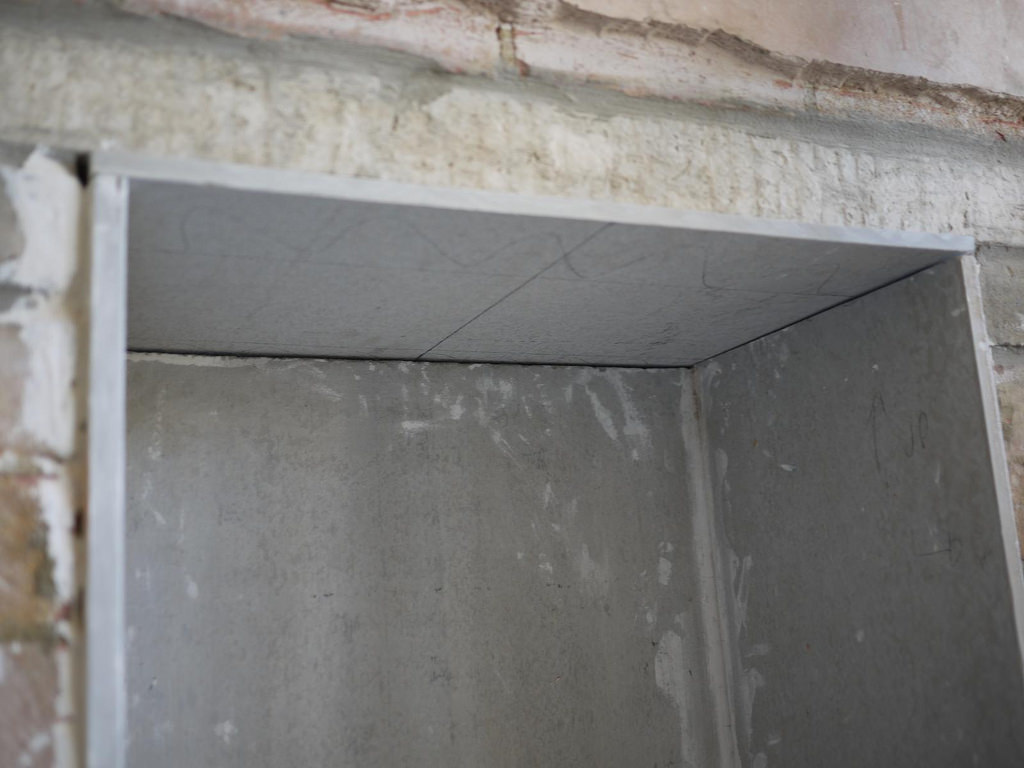
Once the chimney breast is plastered, I'll simply paint the rear and sides of the fireplace, and use black 'stove paint' for the top plate...
That's pretty much the lining taken care of. It's going the be a bit 'stagey' from now on, as I want to get the plastering done BEFORE I lay the hearth, and I can't actually put the fireplace in until the hearth is laid.
This is one of the reasons I'm going down the self-install route - I can pop in and spend an hour or two doing each 'stage' as it needs to take place, rather than have a chap in to do it all in one or two days.
The flue work, as you'll see below, isn't completely straight forward!
The flue 'stuff'
Most people would simply 'hang' a flexi liner from the top of their chimney, down to the firebox (with a few other bits and pieces of pipework in between).
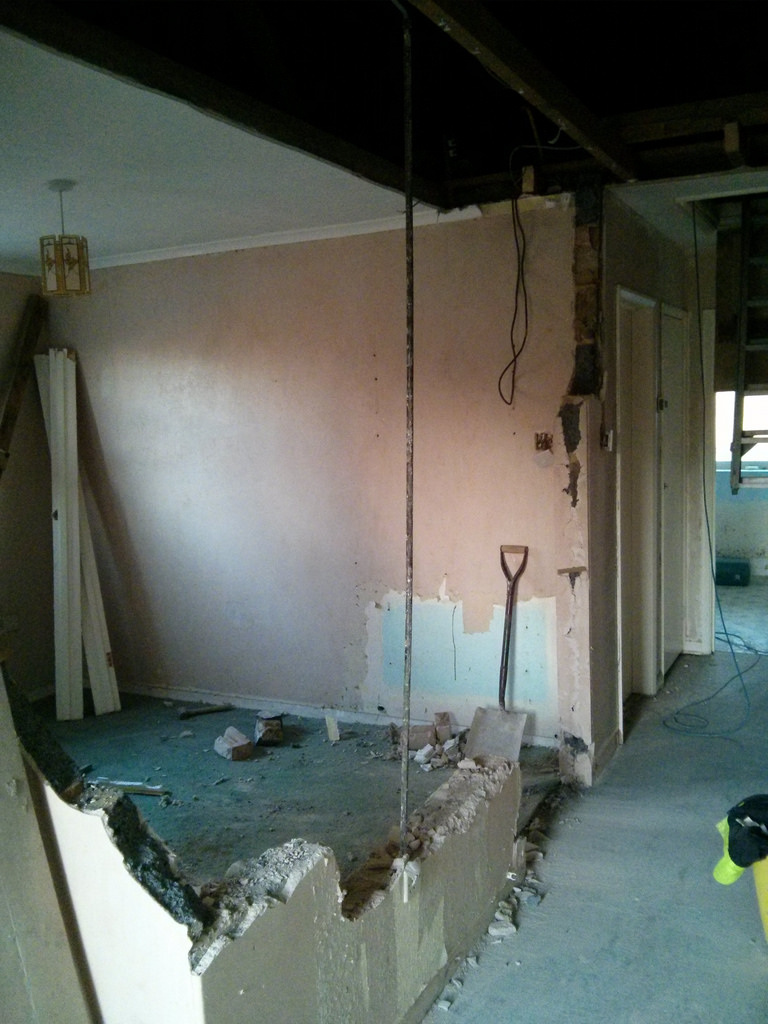
But as you can see from this fairly subtle 'spot the difference', we've got an issue with that...
But as you can see from this fairly subtle 'spot the difference', we've got an issue with that...
 | 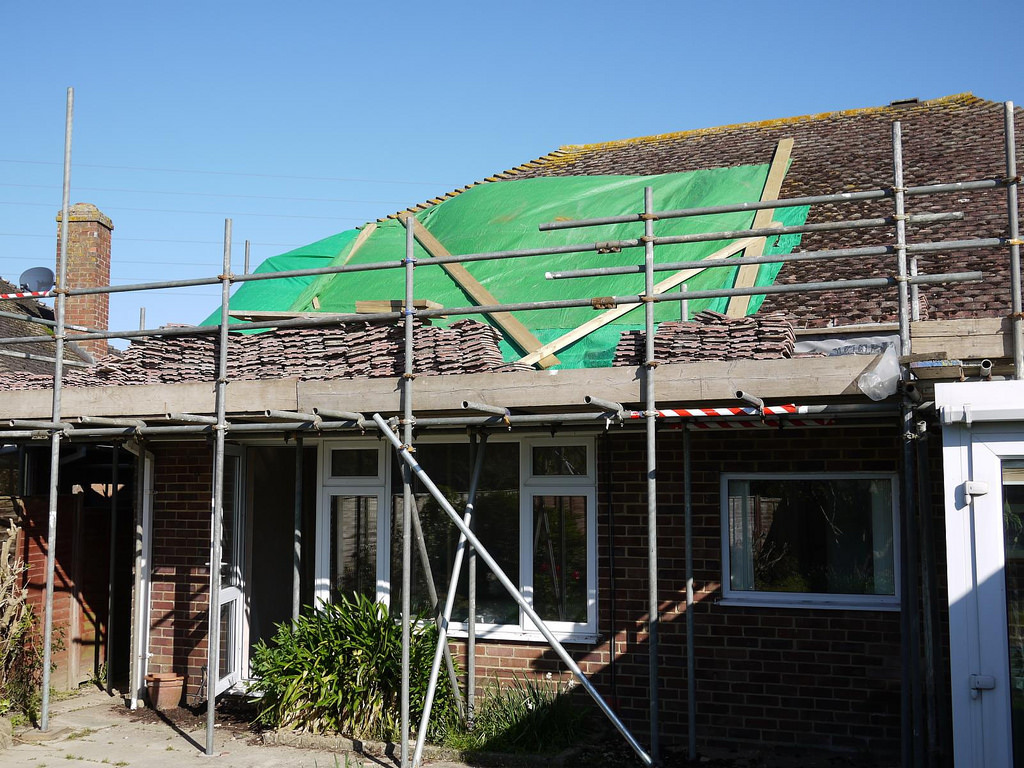 |
Did you figure it out...??? Chimney...gone!!
This was always the intention, rather than shoddy building work!
We're having a full span dormer on the rear, and the chimney would take up too much internal space or require us to have two dormers.
The easiest option was to simply take the chimney down, and create a new one with a twin-wall flue. I drew up a rough idea of what I'd be after, and sent this to a few local and on-line flue supply companies for quotes for all the gubbins:

The company I eventually got (well, technically "am getting" the stuff from, as it was shipped this afternoon) was FlueSupply. As it happens, they have a useful 'online quotation system', and it would appear 'system quotation 9' is exactly what I needed!
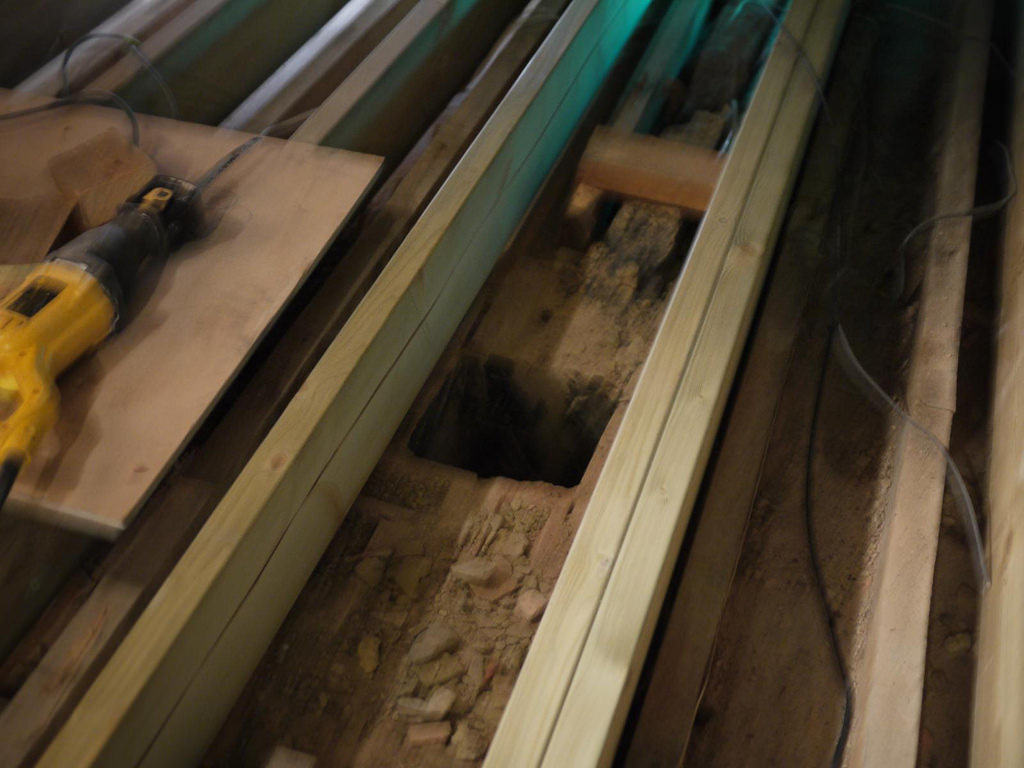
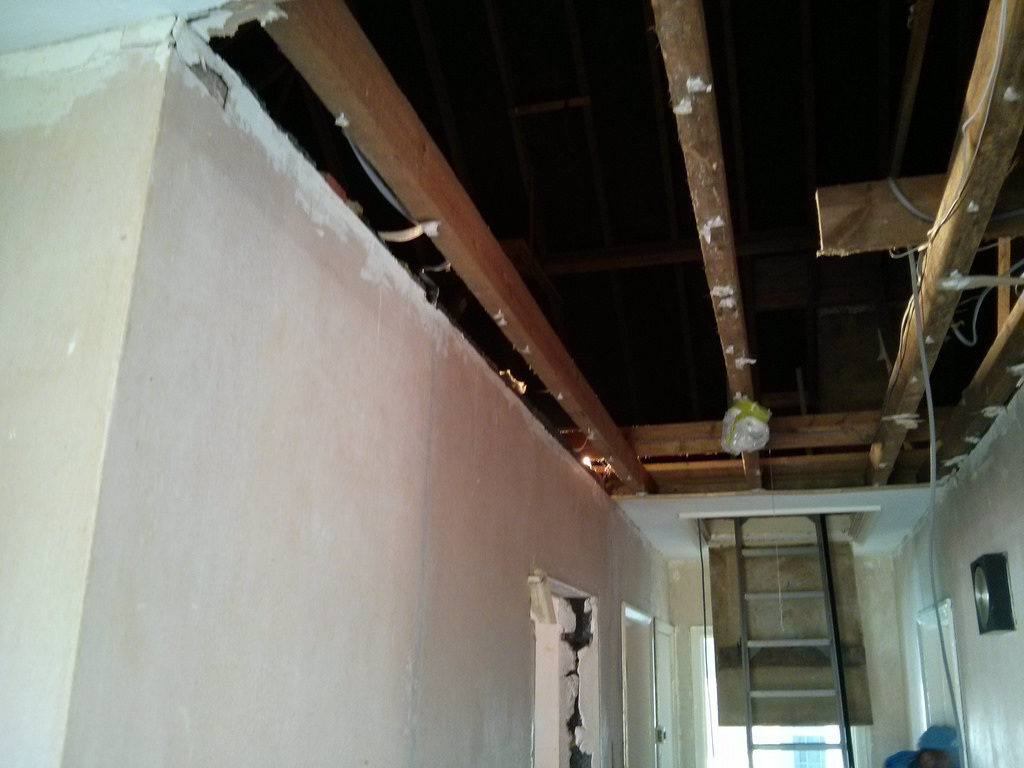
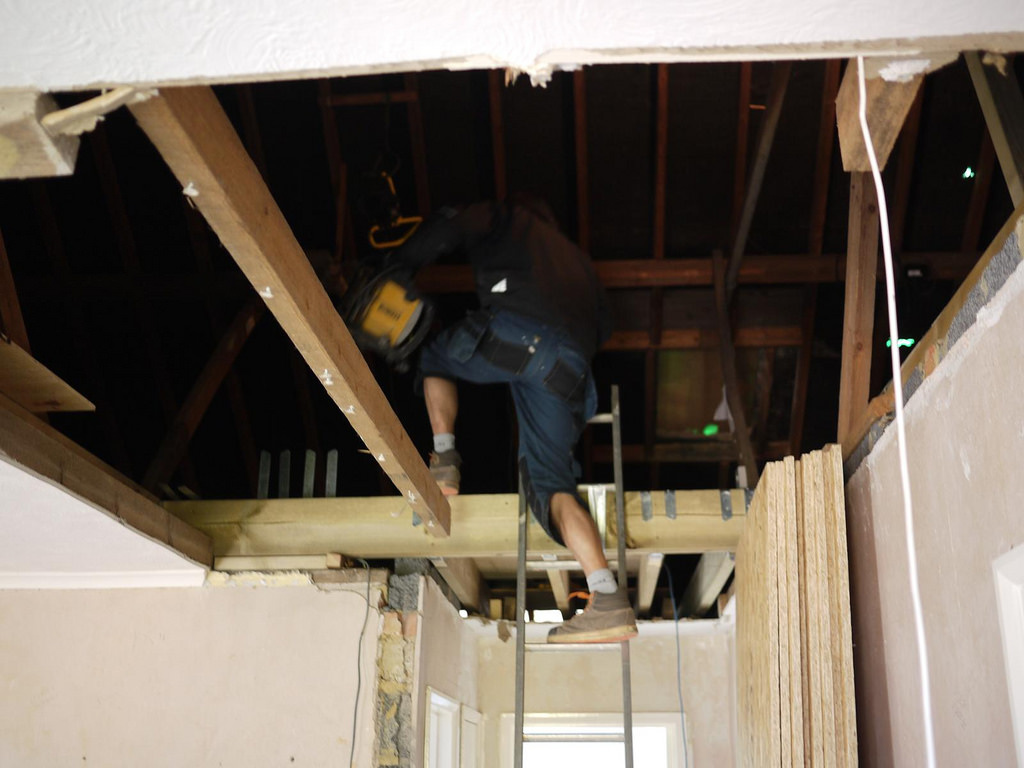
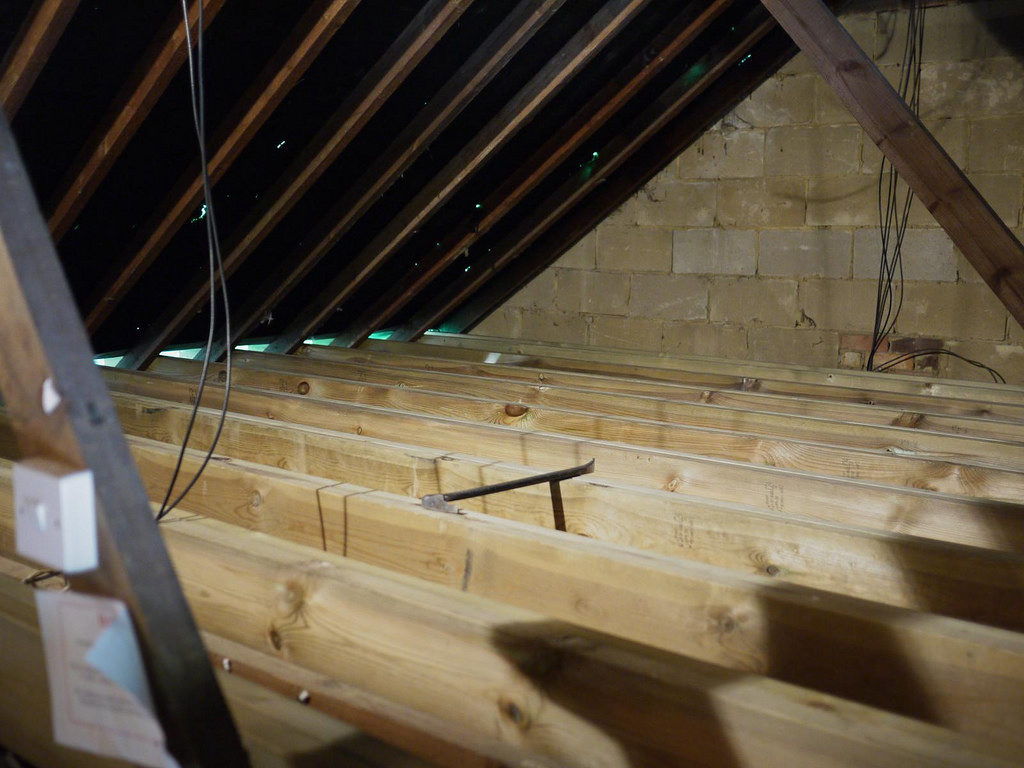
Here are some pictures of what we're left with in the loft, as well as a few quick snaps of the loft space taking shape.
I'll update the blog over the next few weeks as I do the next few stages, which will likely include:
Here are some pictures of what we're left with in the loft, as well as a few quick snaps of the loft space taking shape.
I'll update the blog over the next few weeks as I do the next few stages, which will likely include:
- Lining the chimney
- Creating the twin-wall stack
- Fitting the fire
- Lighting the fire
- Calling the fire brigade
- The insurance claim etc etc ;-)
 | 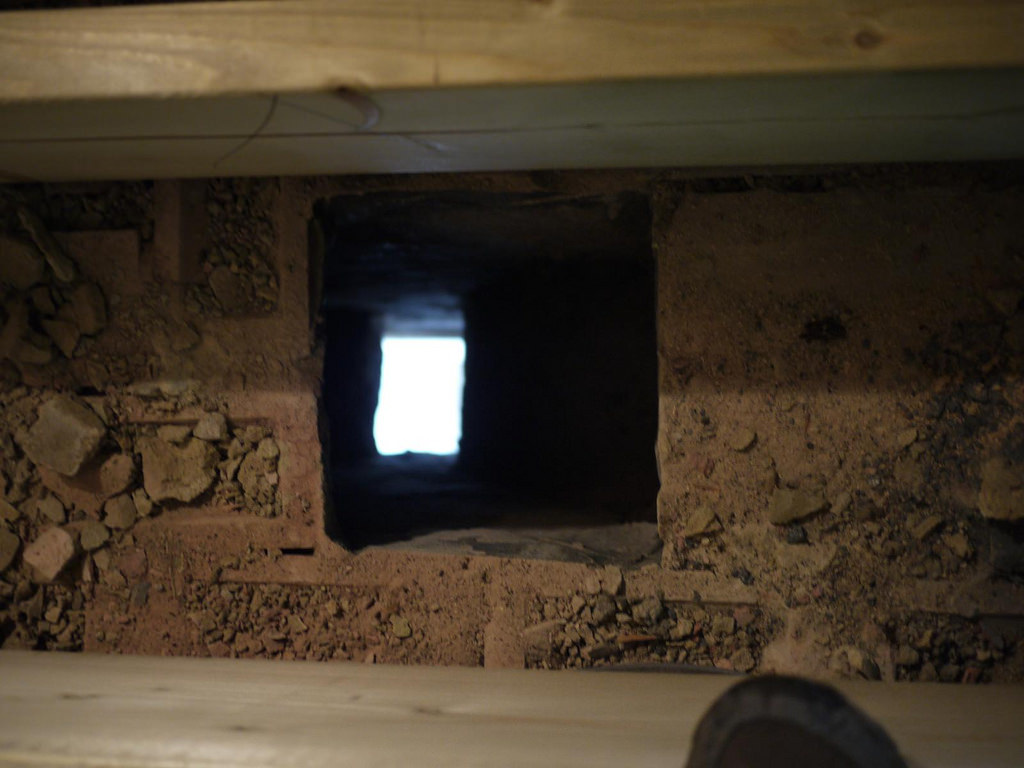 The view from Santa's perspective |
  |   |
 RSS Feed
