So... I'd already made the frame-bag a few months ago, and this had proved invaluable for the bike-packing treks we'd done thus far (by treks, I really mean short distance overnighters...!).
Ray had turned up one evening with his wildcat-gear mountain lion bar harness and I was suitably impressed.
Impressed enough to want one. But not impressed enough to buy one...
I could feel a 'make' coming on...!
Ray had turned up one evening with his wildcat-gear mountain lion bar harness and I was suitably impressed.
Impressed enough to want one. But not impressed enough to buy one...
I could feel a 'make' coming on...!
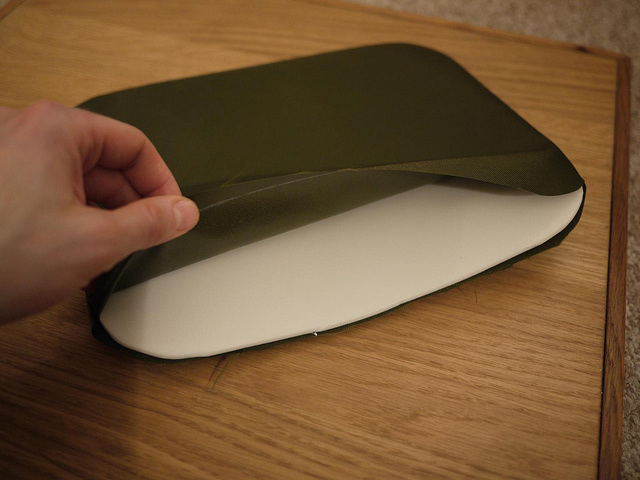
Like the frame-bay DIY blog, I'll start where we're aiming to finish..
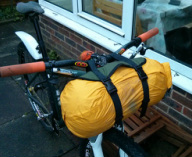
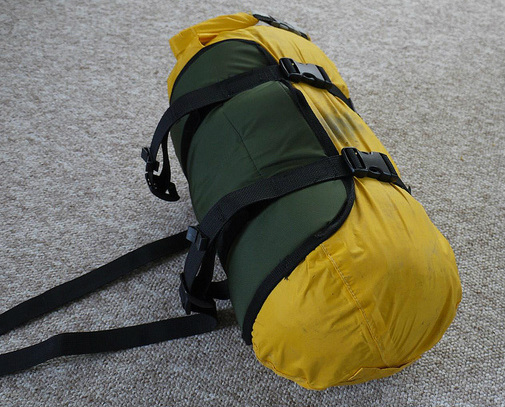
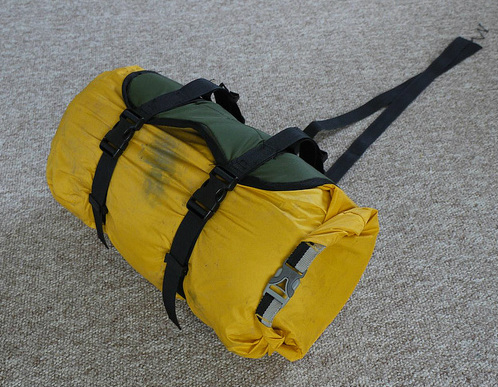
This is the finished harness 'hugging' the sleeping bag. Like the wildcat-gear harness, I've used a single length of webbing strap on each side - it very cleverly loops around the sleeping bag, attaches to the harness, loops around the bars, attaches to the harness, loops around the fork crown, then tightens against itself! I'll explain in more detail later on.
This is the finished harness 'hugging' the sleeping bag. Like the wildcat-gear harness, I've used a single length of webbing strap on each side - it very cleverly loops around the sleeping bag, attaches to the harness, loops around the bars, attaches to the harness, loops around the fork crown, then tightens against itself! I'll explain in more detail later on.
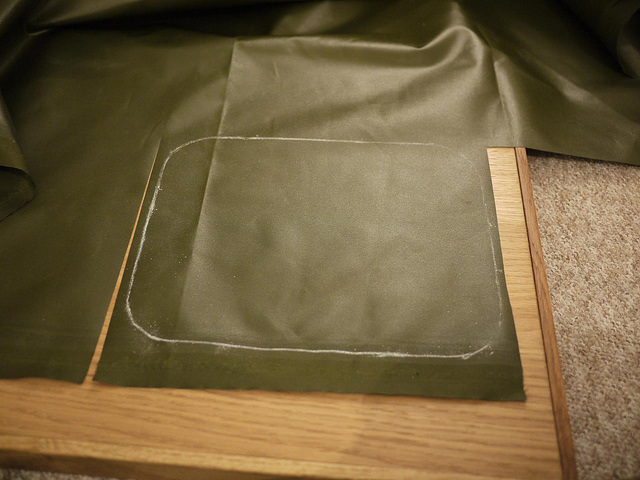
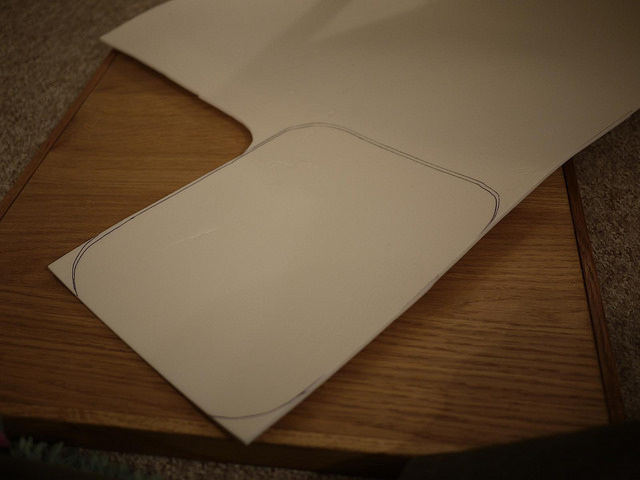
Step 1 - marking and cutting out the 'cradle'
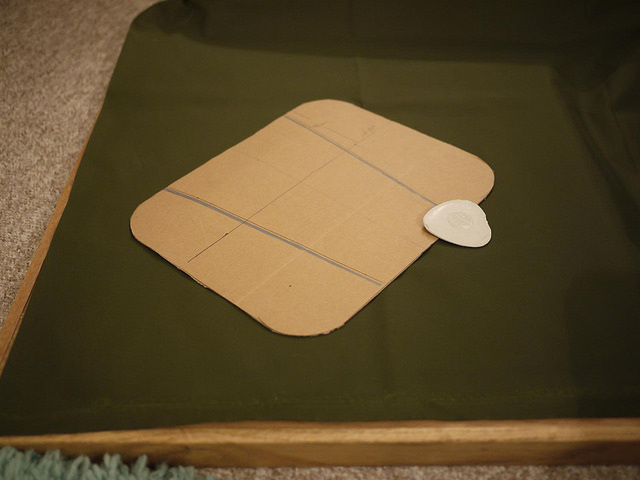
Like the frame bag, this starts with a cardboard template and some coated nylon fabric. Again I used Point North to get all my fabrics and fixings from. This time around I used 6oz nylon fabric as I wanted something a bit thicker and stiffer (ooh er..) as the sleeping bag will be constantly rubbing against the fabric.
The dimensions for the cardboard template were roughly 29 x 25cm, with the edges rounded as you see here. I also marked on where the straps would lie - roughly 18cm 'wide' at the top, and 11cm at the bottom. Finally, roughly 9cm down from the top I marked the line where the 'bar loop' would be.
Using tailor's chalk, mark out 2 of the pattern and cut them out.
Pin the two shapes together, in preparation to sew three of the edges..
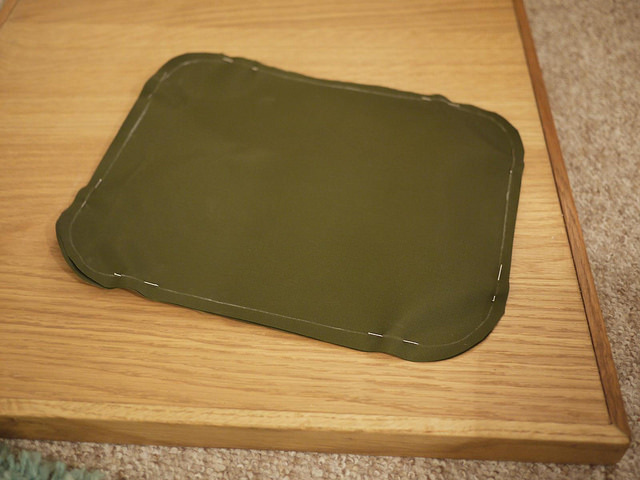
You'll see that here I am sewing the cradle in it's 'finished' orientation i.e. the outside of the fabric on the outside..
I had tried sewing it inside-out so the edges were inverted, but my machine couldn't handle the stages after that and it all turned into a big mess and I got angry and shouted and threw things and stuff... So I wouldn't bother with that if I were you, or you'll end up with a state like this...
I had tried sewing it inside-out so the edges were inverted, but my machine couldn't handle the stages after that and it all turned into a big mess and I got angry and shouted and threw things and stuff... So I wouldn't bother with that if I were you, or you'll end up with a state like this...
Messy eh?!
Step 2 - the foam
An easy step here... Simply get some foam, mark out the shape (using the same cardboard template) and then cut it out about 2mm smaller in all dimensions.
An easy step here... Simply get some foam, mark out the shape (using the same cardboard template) and then cut it out about 2mm smaller in all dimensions.
Then pop that into the fabric 'envelope' you've just made, and sew it up around the edges.
(Some continuity errors in the photos here - the are from my 'failed attempt' so show the envelope turned inside on itself)
(Some continuity errors in the photos here - the are from my 'failed attempt' so show the envelope turned inside on itself)
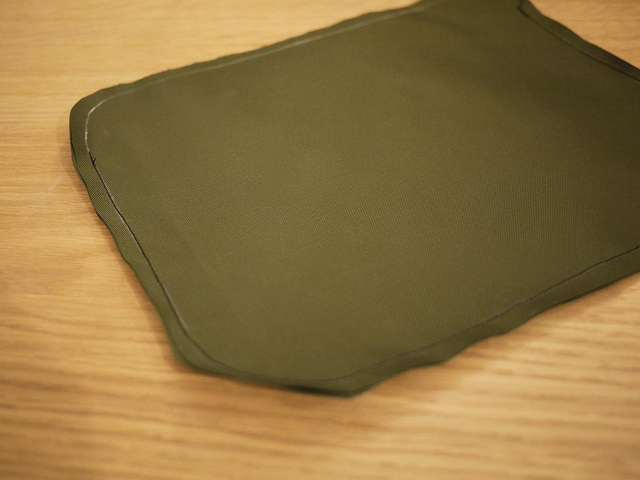
Step 3 - applying the edging
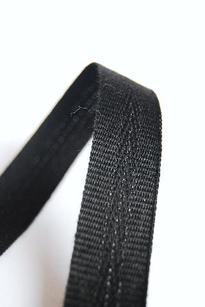
When you make your on-line order, make sure to get loads of some nylon edging tape. It's great stuff as I've used it here, but also added it to the inside of my frame bag too for additional strength at minimal cost and weight.
It's a bit tricky using a home sewing machine to do this, and it did struggle a bit getting through the tap, fabric, and foam. It's for this reason that I opted to leave the 'edges out' on the fabric, so that the sewing machine only had to contend with the edging tape and the fabric. If I had a tougher 'industrial' machine then it would probably have managed the whole lot.
Here's the edging tape...
It simply folds over the edge of your fabric 'flaps' to reinforce the edge, and looks pretty neat as well.
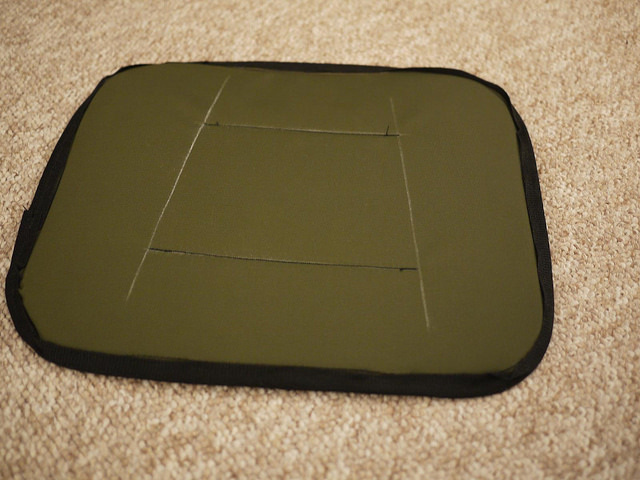
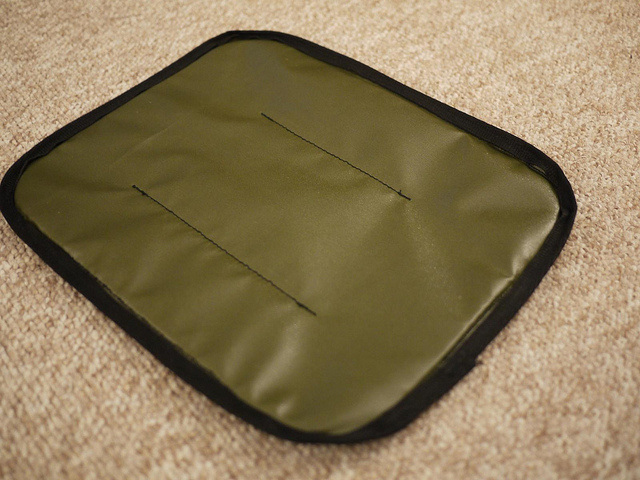
You should now have finished the cradle part and have something like this..(you can see where I've marked on the strap layout, and also just ran the machine through it all a few times to hold it all in place)
You should now have finished the cradle part and have something like this..(you can see where I've marked on the strap layout, and also just ran the machine through it all a few times to hold it all in place)
Step 3 - the straps and buckles
You'll need a few metres of 25mm nylon strapping, 2 side release buckles, 2 'ladder lock' tension straps, 2 'figure-8' buckles, and 4 webbin-loop stays. No surprises, this can all be bought from point north!
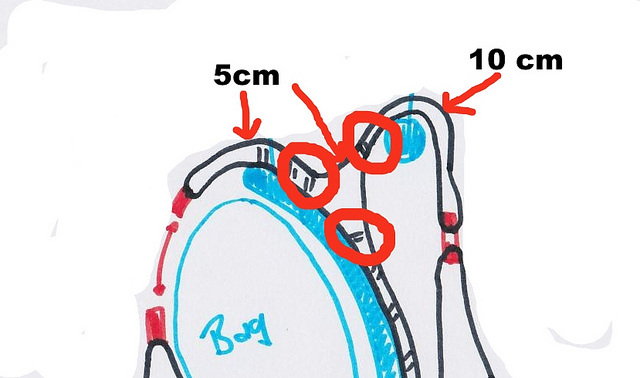
This artists impression explains the strap and buckle layout infinitely better than words could!
You'll need a few metres of 25mm nylon strapping, 2 side release buckles, 2 'ladder lock' tension straps, 2 'figure-8' buckles, and 4 webbin-loop stays. No surprises, this can all be bought from point north!
This artists impression explains the strap and buckle layout infinitely better than words could!

I found the easiest way to sew the straps was to have about 1m of strapping (I think - maybe it was a bit more - I'd suggest you measure up your bag and fork-bar distance yourself..) laid out on the floor, and then 'dry attach' the buckles etc.
Once you're happy with the lengths, you can simply run the sewing machine through the strapping (on the three areas circled in red on this technical drawing..), making sure to leave lengths similar to those suggested here.
Once you're happy with the lengths, you can simply run the sewing machine through the strapping (on the three areas circled in red on this technical drawing..), making sure to leave lengths similar to those suggested here.
Make sure you're happy with the lengths, and you've put all the necessary buckles in place BEFORE sewing! Once you've done that, you should have 2 identical bundles of nylon strapping and buckles..
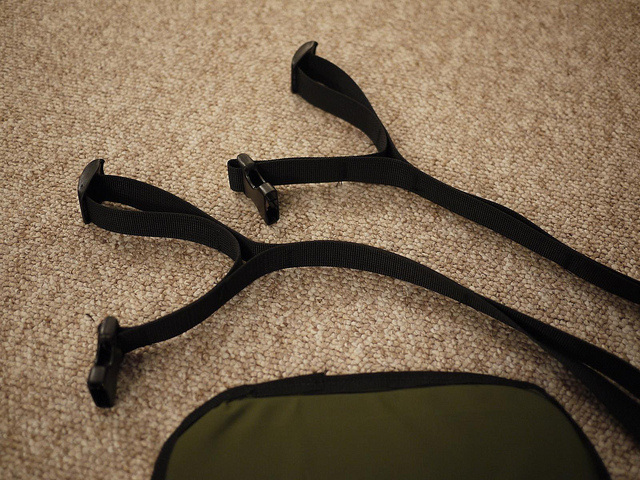
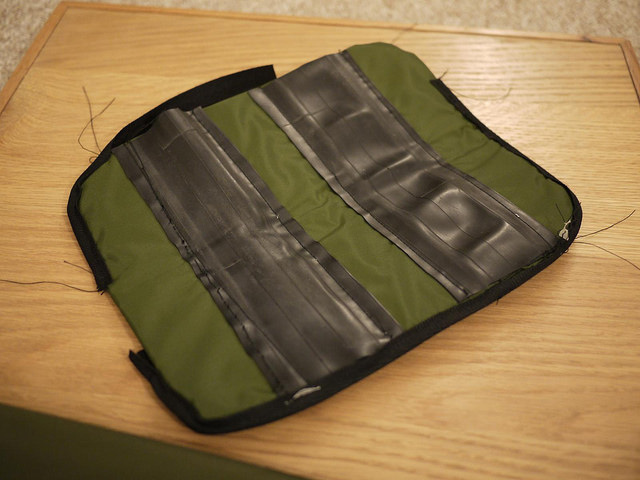
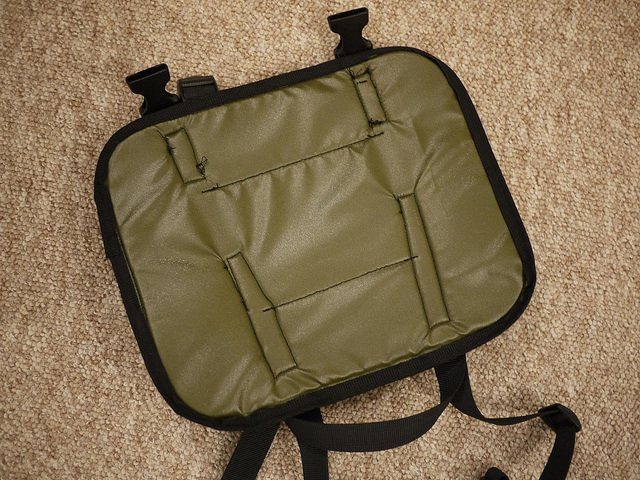
..which can then be laid over the cradle, and the whole thing sewn together!
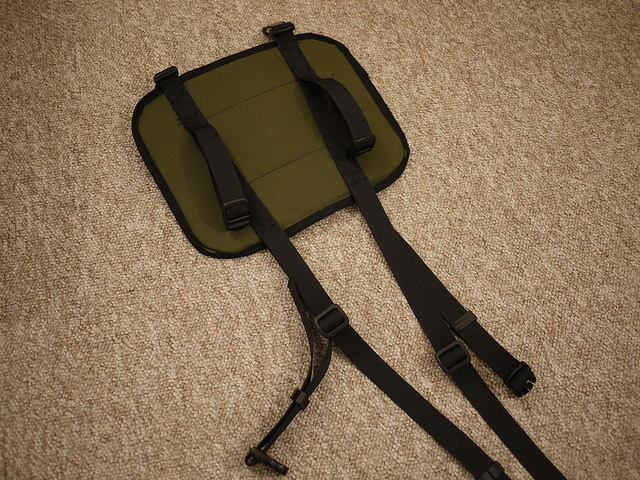
You can see on the underside how the straps have been sewn on...
And there you have it! The finished item all ready to be strapped to the bars/fork, loaded up with your bed for the night, and ridden into your wildest dreams...or something like that...
 RSS Feed
